Options Tag
Overview
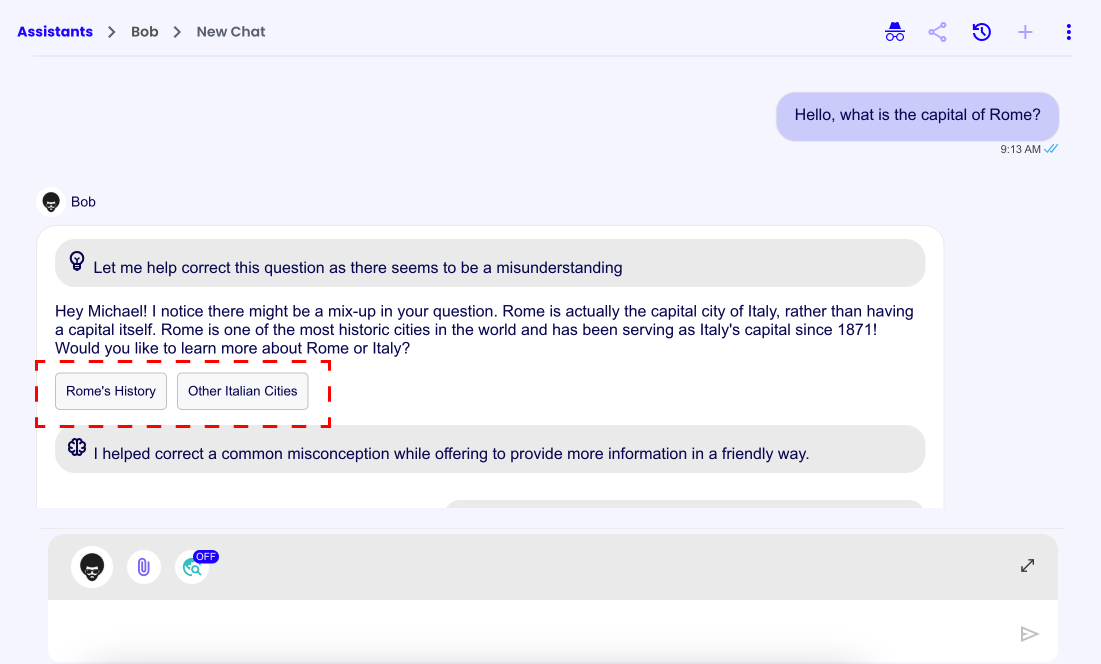
The Options Tag is a tag that allows the assistant to provide a list of options to the user.
When the user clicks on an option, option's prompt value will be sent as a user message.
Tag Structure
<options>
  <option prompt="The prompt the user will see as their own when they press this option">
    The text the user will see on the button
  </option>
  <option prompt="The prompt the user will see as their own when they press this option">
    The text the user will see on the button
  </option>
</options>
Usage Example
To implement the Options Tag you could, for example, add the following instructions to the assistant's system prompt in the assistant's AI Settings:
<options_usage_info>
- If you are in a situation where you need to give a multiple choice option to the user, you can use the <options> tag.
- Place the <options> tag where it fits more based on your opinion, inside the normal response section.
- Each <option> represents a button that the user can press.
- The "prompt" value represents the new prompt that will be sent when pressing the <option> button.
- When the user selects an option, they will see the "prompt" value as a message of their own, so keep this in mind when generating the "prompt" value.
- The text between the <option> tags, represent the text that is seen on the button, the button text should be short and exhaustive.
- If the options represent a quiz place the correct answer in a **random** position.
- Follow this structure:

<options>
  <option prompt="The prompt the user will see as their own when they press this option">
    The text the user will see on the button
  </option>
  <option prompt="The prompt the user will see as their own when they press this option">
    The text the user will see on the button
  </option>
</options>

<options_example_question>
Let's imagine the user asked you about android development and you responded that Kotlin and Flutter are commonly used. Then you could ask them: "What would you like to explore more?", this is an example of the <options> that you could generate:
<options>
  <option prompt="I would like to explore Kotlin">
    Kotlin
  </option>
  <option prompt="I would like to explore Flutter">
    Flutter
  </option>
</options>
</options_example_question>

<options_example_quiz>
Let's imagine the user asked for a random quiz on Italy and you asked them: "What is the capital of Italy?", this is an example of the <options> that you could generate:
<options>
  <option prompt="Italy's capital is Turin">
    Turin
  </option>
  <option prompt="Italy's capital is Rome">
    Rome
  </option>
  <option prompt="Italy's capital is Milan">
    Milan
  </option>
</options>
</options_example_quiz>
</options_usage_info>
In this example we also provided some examples to the assistant, to help it understand how to use the Options Tag.